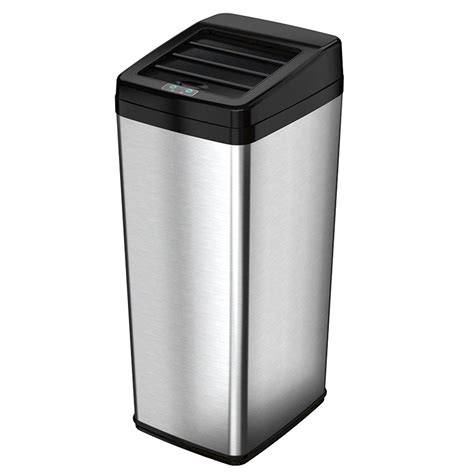
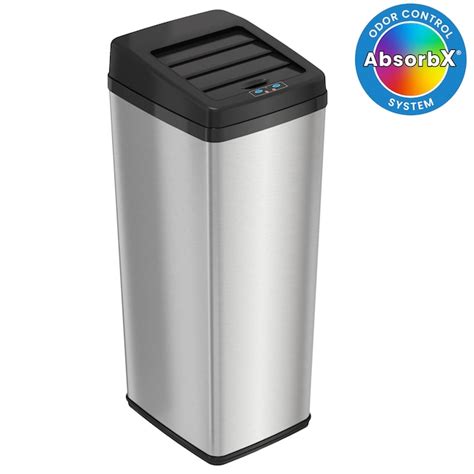
Keeping your trash can clean and odor-free is essential for maintaining a fresh and healthy home environment. Over time, trash cans can accumulate grime and unpleasant odors, making regular cleaning and deodorizing a necessary task. Fortunately, with the right approach, this chore can be quick and effective. In this article, we’ll share the top 10 expert tips to clean and deodorize your trash can effectively, using simple, accessible methods. From gathering the necessary supplies to maintaining a regular cleaning schedule, these tips will help ensure your trash can stays spotless and odor-free, enhancing the overall cleanliness of your living space.
Join shzow.com for an in-depth exploration of this topic.
1. Gather Necessary Supplies
Before tackling the cleaning and deodorizing of your trash can, it’s crucial to gather all the necessary supplies. Having everything readily available will streamline the process and prevent any missed steps. Begin by choosing an effective cleaning solution. You can opt for a commercial cleaner formulated for tough grime or select a more natural alternative like a vinegar and baking soda mixture, which is both effective and environmentally friendly. You’ll also need a scrub brush or sponge with firm bristles to effectively remove stubborn dirt and residue. For deodorizing, consider using natural products like lemon, essential oils, or activated charcoal. These options are excellent at neutralizing odors without relying on harsh chemicals.
To ensure a smooth cleaning process, gather the following supplies: a hose or bucket filled with warm water for rinsing, a pair of rubber gloves (optional) to protect your hands, and a few old towels or rags for drying. Having these items readily available will streamline the cleaning and deodorizing of your trash can, allowing you to tackle the task efficiently.

2. Empty and Rinse the Trash Can
The first step after gathering your supplies is to empty and rinse the trash can. Ensure the can is completely emptied, removing all bags, debris, and any stuck-on waste. This thorough emptying is crucial for a proper cleaning, as it allows for unobstructed access to all surfaces. Should any residual waste remain clinging to the inside, carefully remove it with a tool like a spatula or old scraper.
Once the trash can is emptied, it’s time to give it a thorough rinse. If you’re outside, use a garden hose to rinse both the inside and outside of the can, paying special attention to areas with grime or stains. If you’re indoors, bring the can to a large sink or bathtub and use a bucket of warm water to rinse it. The warm water will help break down any dirt and make the cleaning easier.
Rinsing is essential for removing the first layer of dirt and softening tough spots that will be scrubbed in the next step. Remember to rinse the lid thoroughly as it can collect bacteria and odors. Once rinsed, you’re ready to proceed with the deeper cleaning process.

3. Scrub with a Cleaning Solution
Once your trash can is rinsed clean, it’s time to tackle any lingering dirt and grime. Apply your chosen cleaning solution generously to all surfaces, including the inside, outside, and the lid. Whether you opt for a commercial cleaner or a DIY mix of vinegar and baking soda, be sure to cover every inch, paying special attention to the bottom and edges where dirt tends to collect.
To thoroughly clean your trash can, grab a scrub brush or sponge with firm bristles. Pay special attention to any stains, sticky areas, or visible grime. The bristles will work to break down the buildup, while the cleaning solution will lift and dissolve the dirt. Remember to scrub the seams, corners, and any grooves where dirt might be lurking.
For natural cleaners, allow the solution to sit for a few minutes before scrubbing. This will help it penetrate and loosen stubborn dirt. After scrubbing, rinse the trash can with clean water to remove any remaining cleaner and debris. This final rinse will ensure a spotless trash can, ready for deodorizing.

4. Use Natural Deodorizers
Once your trash can is sparkling clean, it’s time to address any lingering odors with natural deodorizers. These eco-friendly options are both effective and safe for your home and the environment. One of the easiest and most effective choices is baking soda. Simply sprinkle a generous amount into the bottom of the can. Baking soda excels at absorbing and neutralizing odors, leaving your trash can smelling fresh until the next cleaning.
A refreshing alternative is to utilize lemons or essential oils. Simply place lemon peels or a few drops of essential oils such as tea tree, lavender, or eucalyptus in the base of the trash can. These natural ingredients not only neutralize unpleasant odors but also impart a delightful, fresh scent.
For a long-lasting solution to trash can odors, try placing a small container of activated charcoal at the bottom. Activated charcoal is remarkably effective at absorbing odors, keeping your trash can smelling fresh for an extended period.
Regularly using natural deodorizers will keep your trash can smelling fresh, even with daily use. This easy step makes a big difference in your home’s overall cleanliness and atmosphere.
5. Dry Thoroughly
After cleaning and deodorizing your trash can, it’s essential to dry it thoroughly before putting it back into use. Moisture left inside the trash can can lead to the growth of mold and mildew, which not only causes unpleasant odors but can also be harmful to your health. Begin by tipping the trash can upside down to drain any excess water. This is especially important if you’ve been rinsing the trash can outdoors or using a hose.
Once most of the water has drained, use a clean towel or rag to wipe down the entire interior and exterior of the trash can. Pay special attention to the bottom and corners, where water tends to pool. If you’re using an absorbent towel, you can quickly soak up any remaining moisture. For more effective drying, you can leave the trash can upside down in a well-ventilated area or outside in the sun for a few hours. The sunlight and fresh air will help speed up the drying process and ensure that the trash can is completely dry.
It’s important not to skip this step, as a dry trash can is less likely to develop odors and bacteria. Once the trash can is thoroughly dry, it’s ready for the final steps to keep it clean and fresh.
6. Apply a Liner or Bag
With your trash can clean, deodorized, and completely dry, it’s time to line it with a bag. Using a liner or bag is essential for keeping your trash can clean, as it creates a barrier between the waste and the can. This helps prevent spills, stains, and lingering odors, making your next cleaning job much easier.
Select a sturdy trash bag that’s the right size for your can and fits tightly. Make sure the bag is placed securely, allowing enough extra material to fold over the can’s rim. This keeps the bag from slipping out, even when full. For added protection against odors, consider using scented liners or bags with odor-control features.
Using a trash liner or bag consistently helps maintain your trash can in pristine condition. This prolongs the benefits of your cleaning efforts, creating a cleaner and more pleasant home environment.
7. Regular Maintenance Schedule
Maintaining a clean and odor-free trash can is crucial for optimal performance. Regular cleaning is key to preventing grime buildup and unpleasant smells, making future cleanings easier. A monthly thorough cleaning is recommended. This involves emptying the can, rinsing it out with water, scrubbing with a cleaning solution, and applying natural deodorizers, as previously discussed.
Beyond the monthly deep cleaning, implement weekly maintenance checks. Inspect the trash can for any spills, residue, or unpleasant odors. If any issues are detected, address them immediately by quickly rinsing the can or wiping it down with a disinfecting wipe. This proactive strategy will help manage minor problems before they worsen.
To maintain a clean and hygienic trash can and a fresh-smelling home, it is essential to replace the trash liner regularly. This will help ensure the liner stays secure and prevents odors from accumulating. Additionally, placing the trash can in a well-ventilated area can further reduce odors and minimize the growth of mold or mildew. By following this simple maintenance schedule, you can create a healthier and more pleasant environment for yourself and your family.
shzow.com
