
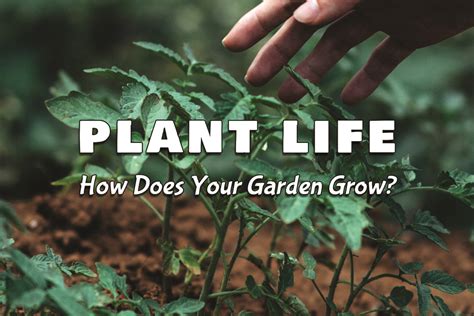
Starting seeds indoors is a rewarding and efficient way to kickstart your garden, ensuring you have healthy and thriving plants ready to transplant when the time is right. Whether you’re a seasoned gardener or a beginner, understanding the steps involved in indoor seed starting can make all the difference in the success of your garden. In this guide, we’ll explore everything you need to know, from choosing the right seeds and gathering essential supplies to creating the ideal growing environment and transplanting your seedlings outdoors. By following these steps, you’ll set the stage for a bountiful and beautiful garden.
shzow.com will provide a detailed exploration of this topic.
1. Choosing the Right Seeds
Selecting the right seeds is the first crucial step in starting a successful garden. The variety of seeds available can be overwhelming, so it’s important to choose those that are well-suited for indoor starting and your specific climate. Consider the growing season in your area and the types of plants you want in your garden. Some plants, like tomatoes, peppers, and herbs, thrive when started indoors, while others may not require such an early start.
When selecting seeds, look for those labeled as “heirloom,” “organic,” or “non-GMO” to ensure high-quality, healthy plants. Heirloom seeds often offer better flavor and resilience, while organic seeds are free from synthetic chemicals. Non-GMO seeds guarantee that the plants have not been genetically modified.
It’s also essential to read the seed packets carefully. They provide valuable information about the plant’s growth requirements, such as light, temperature, and soil preferences. Pay attention to the days to maturity, which will help you determine the best time to start seeds indoors.
By taking the time to choose the right seeds, you set the foundation for a flourishing garden. The seeds you select now will ultimately determine the variety and success of your plants, making this step a vital part of your gardening journey.
2. Gathering Essential Supplies
Gathering the right supplies is key to successfully starting seeds indoors. Having everything ready before you begin will make the process smoother and more enjoyable. The basics include seed trays or small pots, a good quality seed-starting mix, labels, and a watering can or spray bottle for gentle watering. Seed trays with individual cells are ideal because they allow each seedling to develop a strong root system without crowding.
A seed-starting mix is different from regular potting soil; it’s lighter, drains better, and is sterile to prevent disease. This mix ensures your seeds have the best possible start. Additionally, proper labels are essential to keep track of which seeds you’ve planted and when. You can use anything from craft sticks to professional plant labels.
Supplemental lighting, such as grow lights, is also vital, especially if you don’t have access to ample natural light. A timer for the lights ensures your seedlings get consistent light exposure. Finally, a heat mat can be beneficial for seeds that require warmer soil to germinate.
By gathering these essential supplies ahead of time, you’ll be well-prepared to give your seeds the nurturing environment they need to grow into healthy, robust plants.
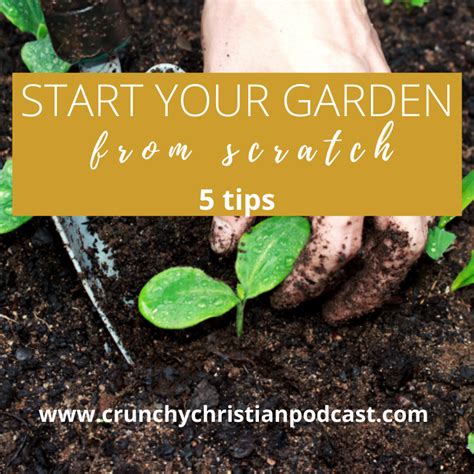
3. Preparing and Planting Seeds
Once you have your seeds and supplies ready, it’s time to prepare and plant your seeds. Start by filling your seed trays or pots with the seed-starting mix, leaving about a quarter-inch of space at the top. Lightly moisten the mix with water before planting to create a welcoming environment for the seeds.
Next, follow the planting depth recommendations provided on the seed packets. Generally, smaller seeds should be placed closer to the surface, while larger seeds need to be planted deeper. Use a pencil or your finger to create small holes or indentations in the soil, and then place the seeds in their respective spots. Cover them gently with more of the seed-starting mix, and lightly press down to ensure good seed-to-soil contact.
Label each tray or pot with the seed type and planting date to keep track of your seedlings. After planting, water the seeds gently using a spray bottle or a fine mist to avoid disturbing them.
To help retain moisture and create a humid environment, cover the trays with a clear plastic dome or plastic wrap. Place the trays in a warm location, such as on a heat mat, to encourage germination. With proper care, your seeds will soon begin to sprout, signaling the start of your thriving garden.
4. Creating Optimal Growing Conditions
Creating the right environment is crucial for the healthy growth of your seedlings. After planting, it’s essential to maintain consistent conditions to ensure your seeds sprout and develop into strong plants. Light, temperature, and moisture are the key factors to manage.
Seedlings need plenty of light to grow properly. If natural sunlight is limited, especially in the early spring, supplement with grow lights. Position the lights about 2-3 inches above the seedlings, and keep them on for 12-16 hours a day. Using a timer can help maintain this schedule consistently.
Temperature is another important element. Most seeds germinate best in a warm environment, typically between 65°F and 75°F. If your space is cooler, using a heat mat under the seed trays can help maintain the optimal soil temperature.
Moisture levels must also be carefully monitored. Keep the soil consistently moist but not waterlogged. Overwatering can lead to root rot or fungal issues, while under-watering can cause the seedlings to dry out and die. A clear plastic cover can help maintain humidity, but be sure to remove it once the seeds have germinated to allow airflow.
By carefully controlling these growing conditions, you’ll provide your seedlings with the best possible start, setting them up for success when it’s time to transplant them outdoors.
5. Transplanting Seedlings to Your Garden
Once your seedlings have grown strong and healthy indoors, it’s time to prepare them for transplanting into your garden. This process begins with hardening off your seedlings—gradually exposing them to outdoor conditions to avoid shock. Start by placing them outside in a sheltered, shady spot for a few hours each day, gradually increasing their time outdoors and their exposure to sunlight over a week to ten days.
When the seedlings are ready and the outdoor temperatures are consistently warm, you can begin transplanting. Choose a cloudy day or transplant in the late afternoon to reduce stress on the plants. Prepare the garden bed by loosening the soil and adding compost to enrich it.
Carefully remove each seedling from its tray, handling it by the leaves rather than the stem to avoid damage. Dig a hole slightly larger than the seedling’s root ball, place the seedling in the hole, and gently firm the soil around it. Water thoroughly after transplanting to help the roots settle in.
Continue to monitor your plants closely for the first few weeks, keeping them well-watered and protected from harsh weather. With proper care, your seedlings will establish themselves in their new environment, leading to a successful and bountiful garden.
Starting seeds indoors is a fulfilling way to jumpstart your garden and ensure strong, healthy plants. By carefully selecting the right seeds, gathering essential supplies, and providing optimal growing conditions, you set the foundation for a thriving garden. As your seedlings grow, transplanting them into your garden with care will lead to successful establishment and growth. With attention to detail and a bit of patience, you’ll enjoy the fruits of your labor as your garden flourishes throughout the season. Happy gardening!
shzow.com